10. Install Dust Collection
During this final step of the assembly process, you will be attaching the components of the dust collection system to the X-Carve Pro.
Video
Tools
- 4mm allen key
- 8mm open end wrench
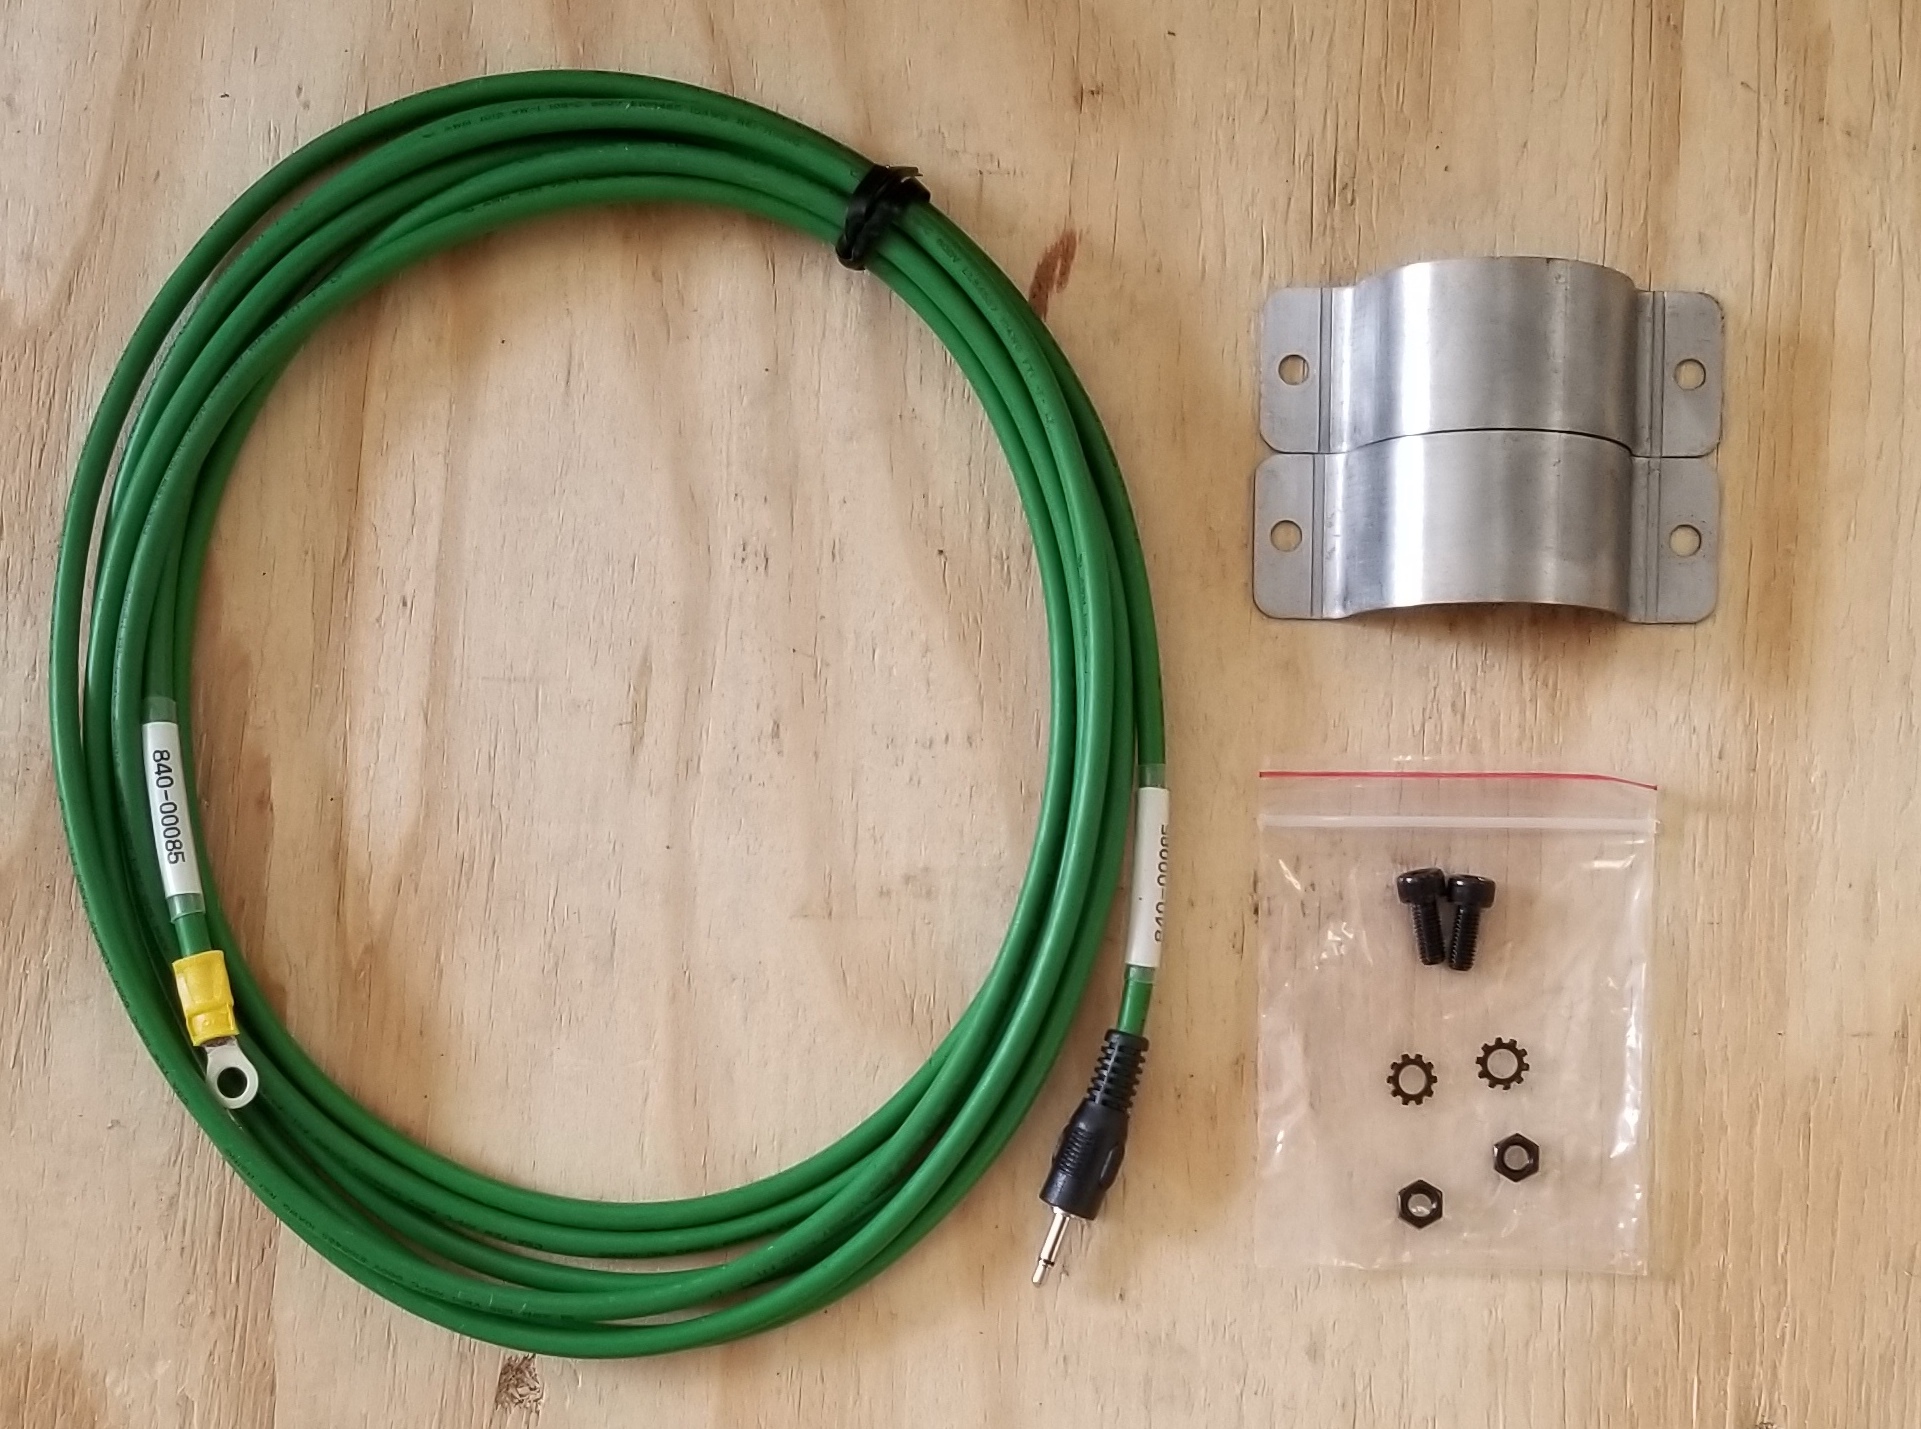
Hardware
- M5 screw x 2
- M5 nut x 2
- M5 tooth washer x 2
Cables
- Grounding wire
Accessories
- Dust hose
- Dust hose hooks x 6
- Hose mount pole
- Metal hose cuff x 2
Steps
- Attach Hose Pole
- Slide 6 of the dust hooks onto the pole, spacing them evenly with 2 hooks installed on each section. Tighten the hooks to the pole using a 4mm allen key.
- Slide the pole into the bracket at the front of the Y2 axis, ensuring it goes all the way into the mount and spins freely.
- Place the dust hose into the hooks mounted to the pole, leaving 54” from the end of the pole to connect to the dust shoe (42” for the 4x2 X-Carve Pro).
- Do not connect the hose to the dust shoe at this time. We will connect the dust hose to the dust shoe in a later step.
- Attach Ground Wire to Controller
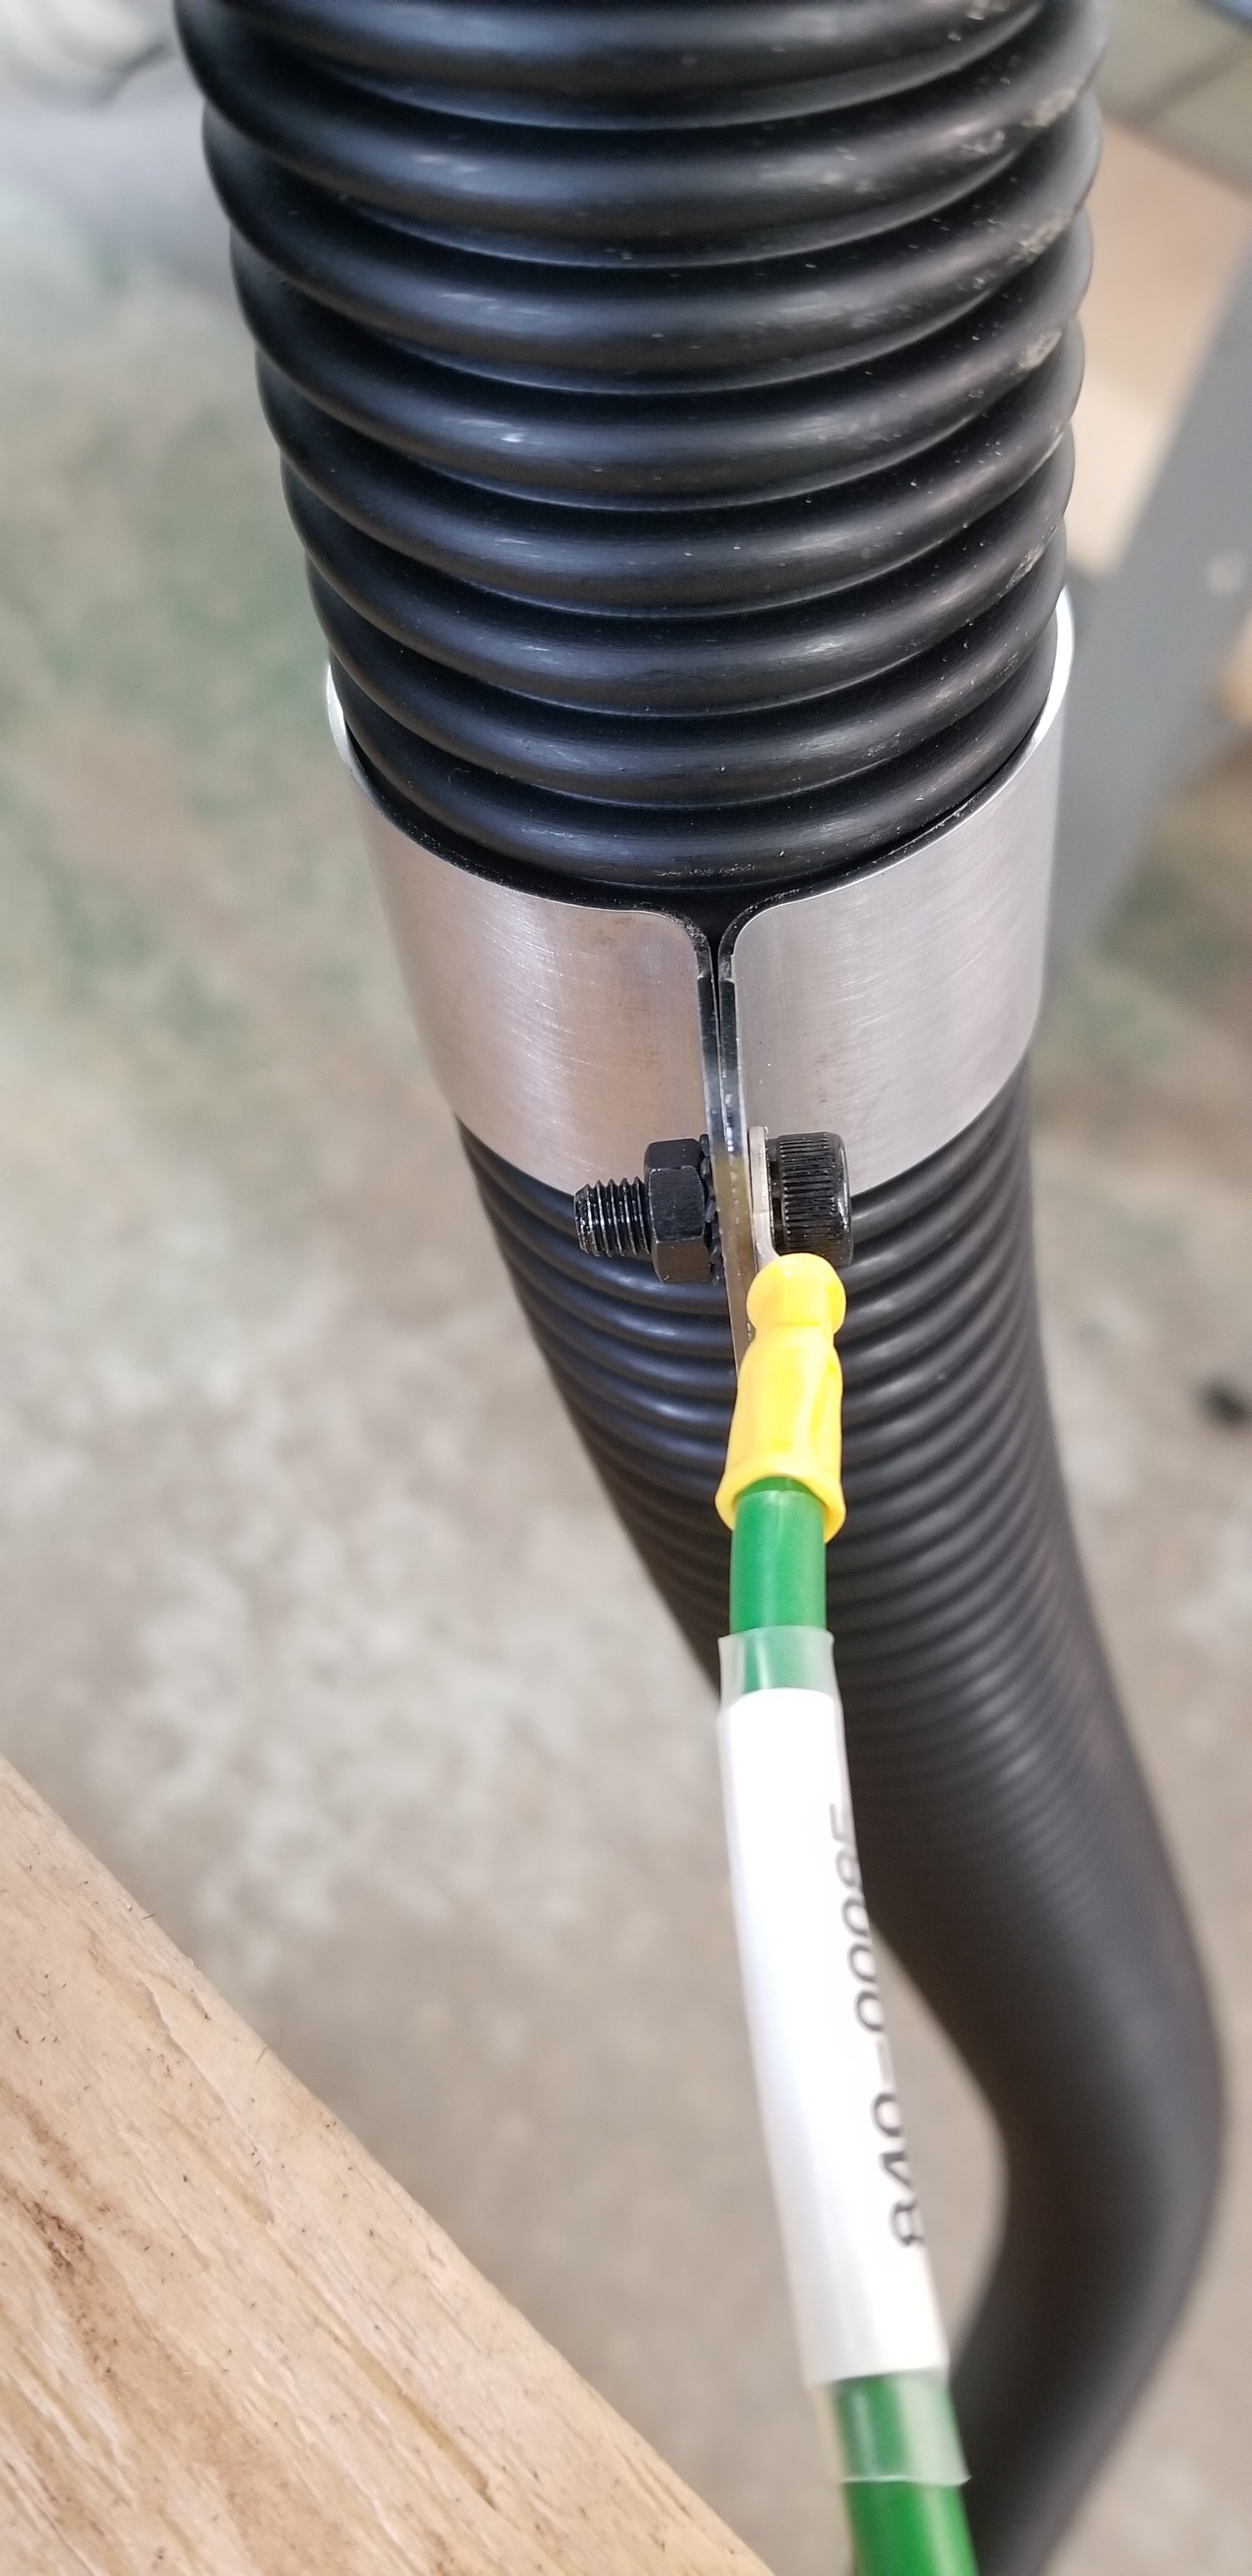
- Place an M5 screw through the eye in the grounding wire, then through both metal cuffs. Place a tooth washer on the other side of the metal cuffs and secure with an M5 nut. Do not tighten the screw fully at this time.
-
Wrap the metal cuffs around the dust hose, ensuring it sits below pole mount such that it will not interfere with the rotating pole. Place an M5 screw through the other holes on the metal cuffs, and secure with a tooth washer and M5 nut. Tighten both screws using a 4mm allen key and 8mm open end wrench.
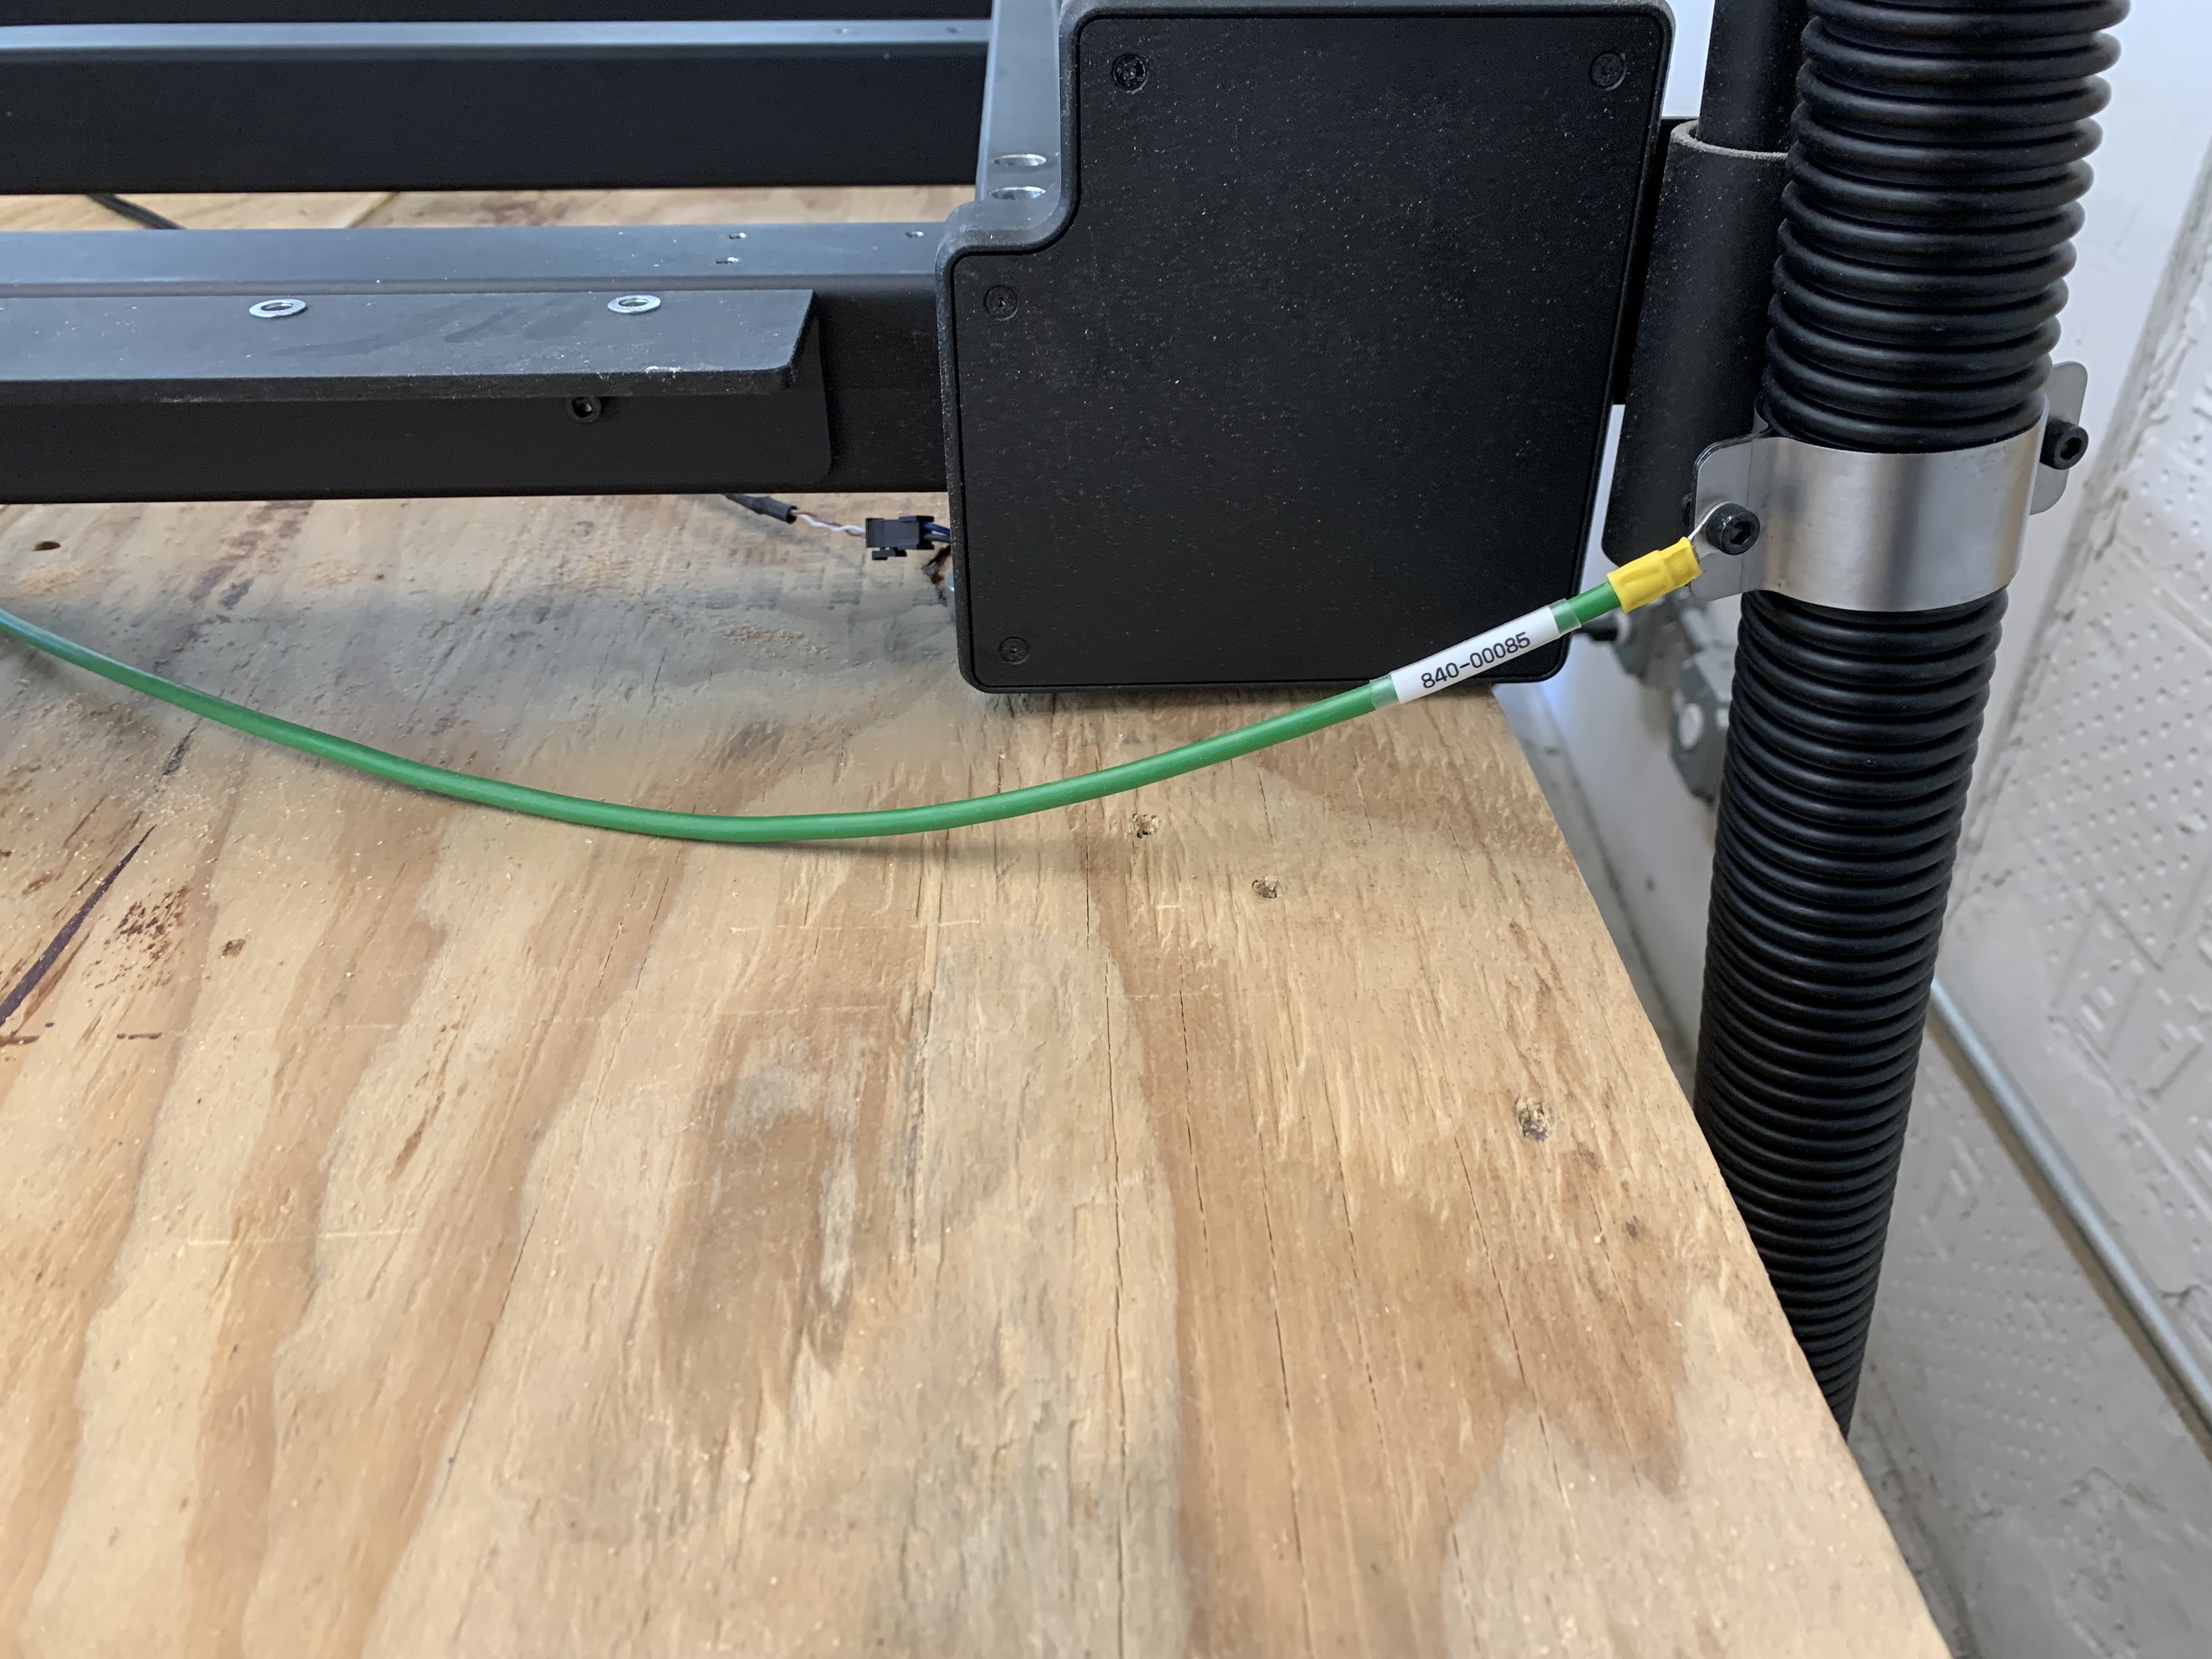
-
Route the grounding wire attached to the hose under the machine and plug the audio jack-style connector into the controller where it is labeled “Dust Hose Grounding”.

| Do not install the wasteboard yet. This will be completed in Step 13 during the Easel walkthrough. |
|---|