3. Arrange Y Axes
Video
NOTE: The video demonstrates tensioning the belts on the y-axes. You may skip this step in the assembly if the belts feel tensioned according to instructions and refer to this guide for future belt tension as part of the service and maintenance procedure.
Hardware
- M3x6 flat head screw x 10
Steps
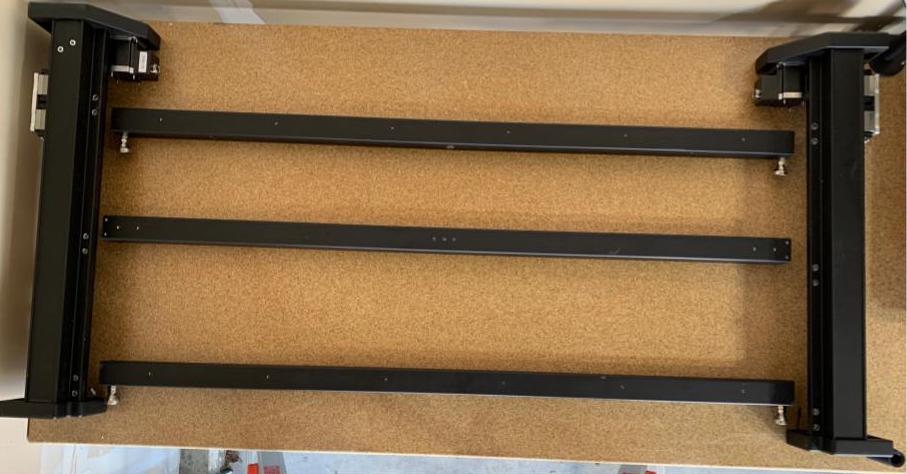
- Arrange Y-Axes.
- Arrange the Y-axes on your table, ensuring that they are placed on the outside of the crossmembers. Keep at least 56” between the Y-axes to allow for adequate space to comfortably assemble the frame.
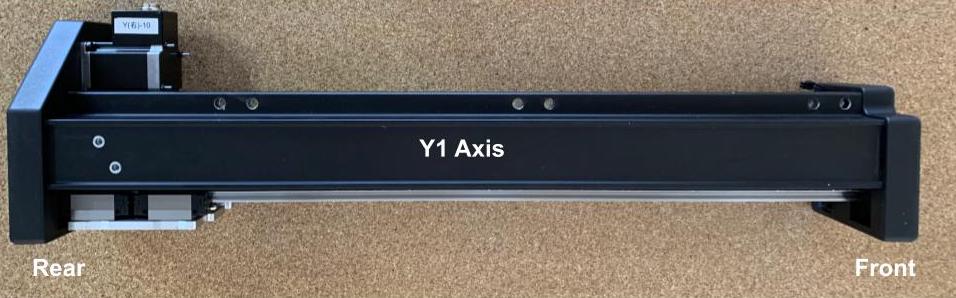
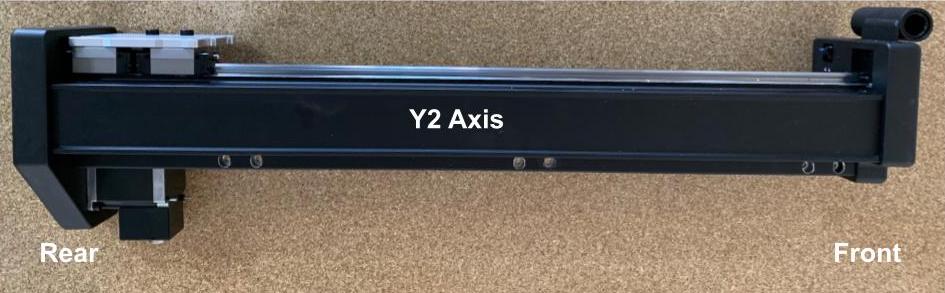
NOTE: The Y1 end of the gantry extends past the end of the machine by 8 inches (200mm). Ensure that there is at least 12 inches (300mm) of space at the back of the machine to allow your gantry room to move safely.
NOTE: The Y-axes should be arranged so the linear guide rails are on the outside of the machine, and the motors are at the rear of the machine.
- Attach Y-Axis End Plates
- Using a 2.5mm allen key, install 5x M3x6 flat head screws into each end cap. The end cap covers are located at the bottom of the drag chain section in the first level of packaging.
NOTE: Do not over-tighten the M3x6 flat head screws as doing so may lead to the stripping screws.