5. Level Machine
During this step you will be leveling the X-Carve Pro. Ensure your table or workbench is level prior to this step. This will make the leveling process much faster.
Video
Tools
- 17mm open end wrench x2
- 4ft Level
Steps
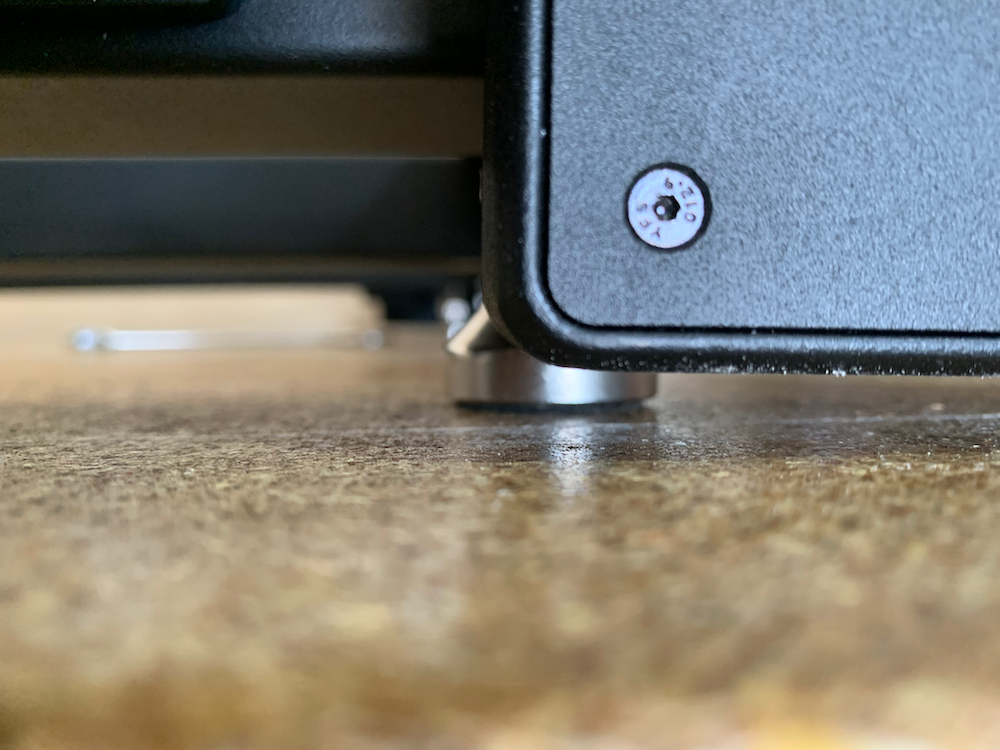
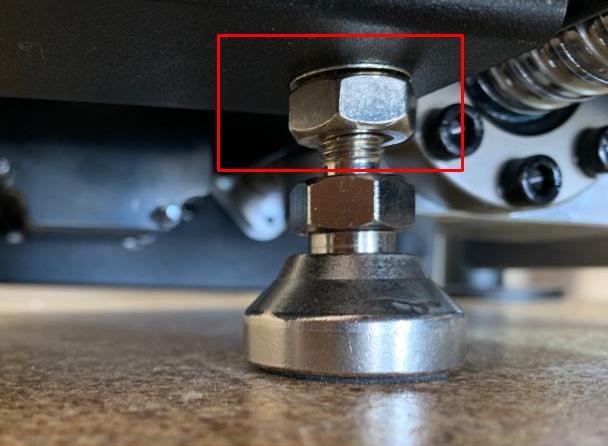
- Lower Leveling Feet
- Using both 17mm open end wrenches on the top and bottom nut of the leveling feet, lower the leveling feet on each crossmember until the Y-axes are no longer touching the top of the table. Holding the top nut that is snug to the crossmember in place, turn the nut closest to the leveling foot clockwise with your other hand to raise the machine off the surface. The Y-axes should be about ¼-½” above the top of the table. This will make the leveling process easier, giving you room to raise and lower areas of the machine without the Y-axes coming in contact with the table.
NOTE: From the top looking down, rotating the leveling feet clockwise will raise the machine away from the table.
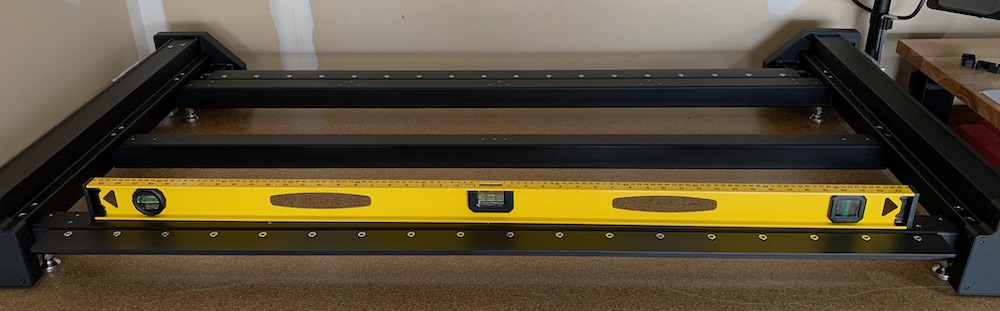
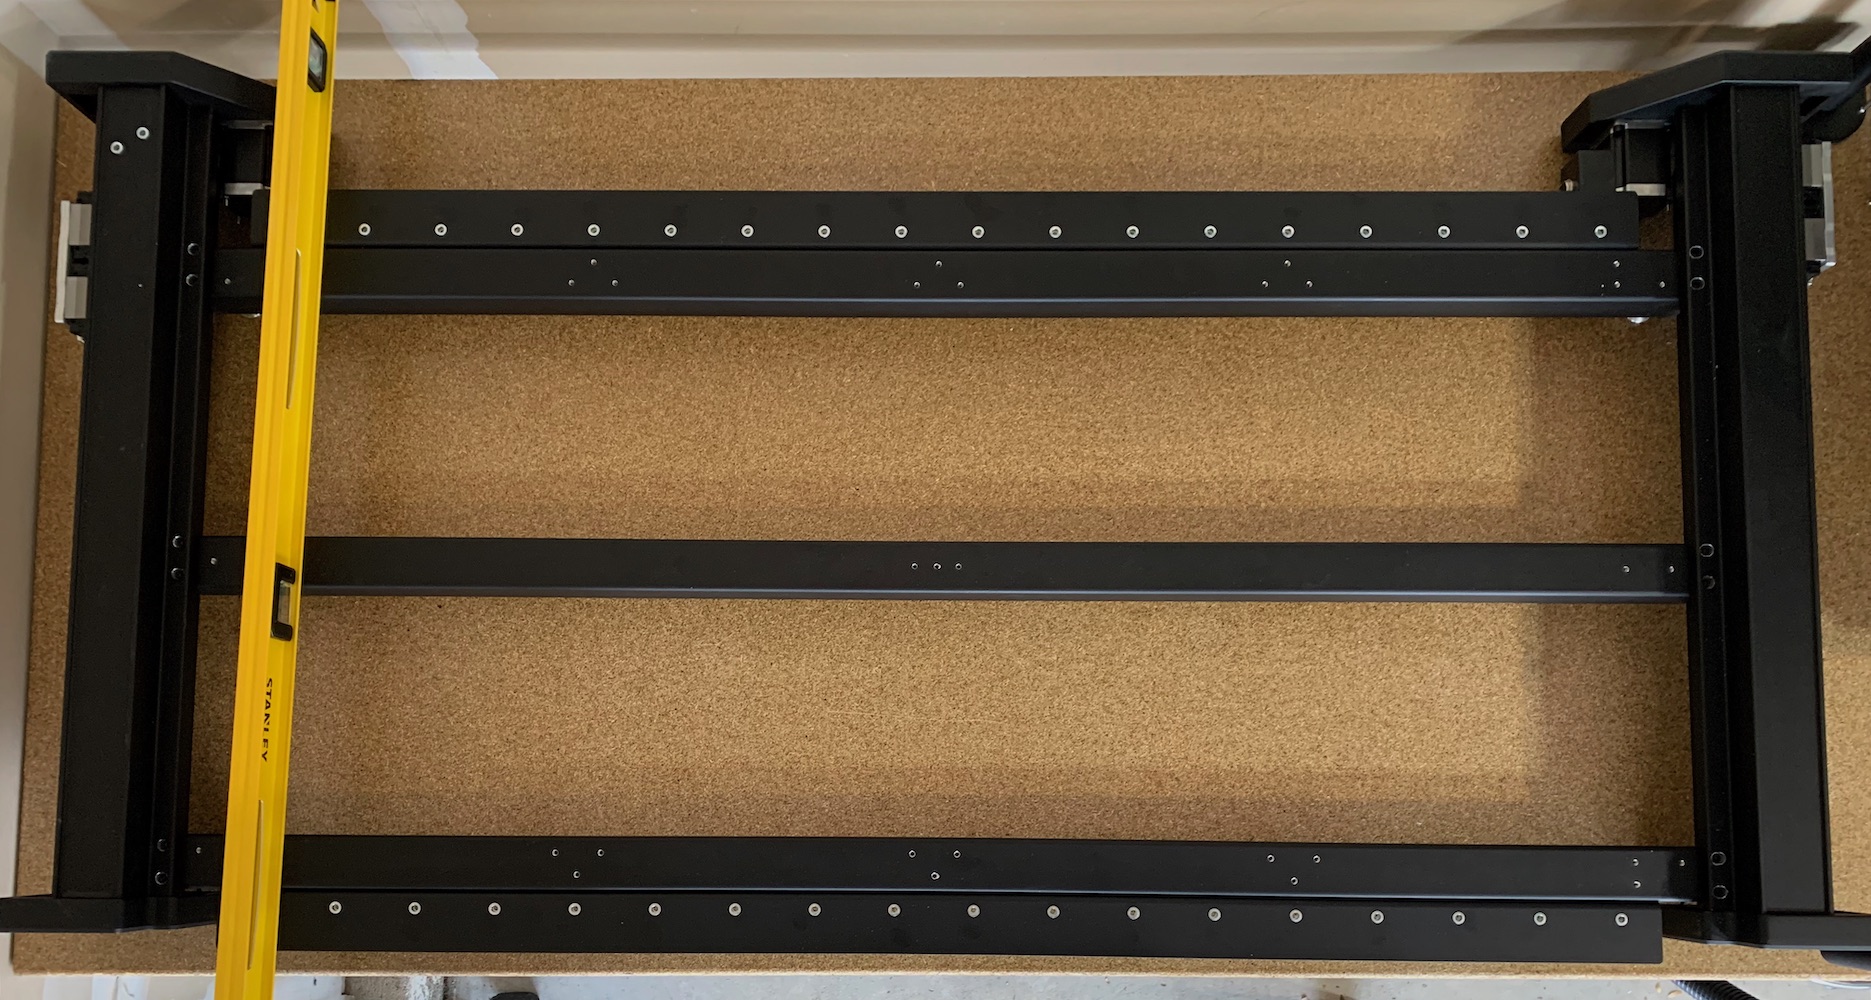
- Level First Crossmember
- Place the 4ft level along the first crossmember. Raise or lower the leveling feet on crossmember #1 until level.
- Place the 4ft level along the first crossmember. Raise or lower the leveling feet on crossmember #1 until level.
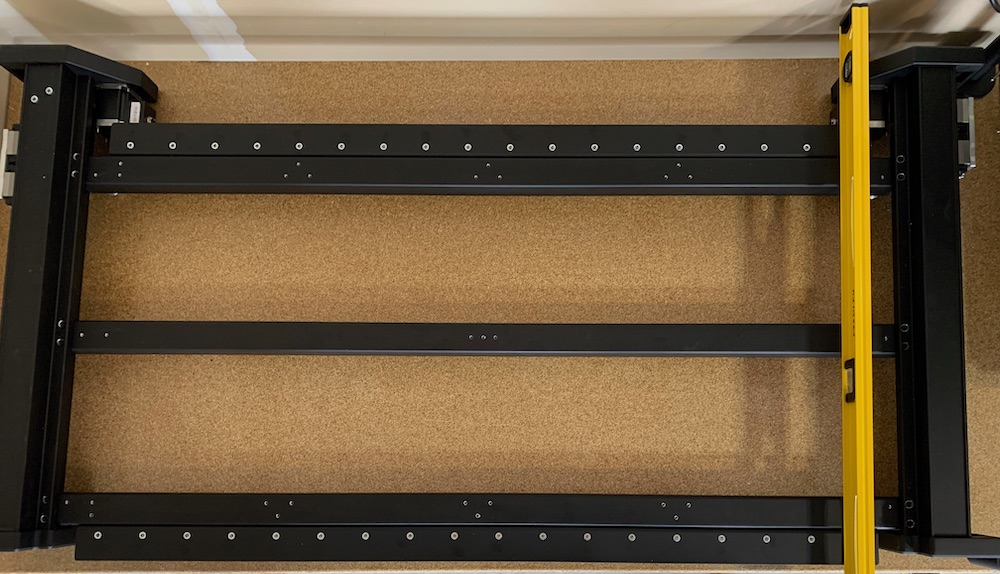
- Level Along Y2 Axis
- Place the 4ft level across the tops of the crossmembers along the Y2 axis. Raise or lower the leveling feet along the Y2 axis side until level.
- Place the 4ft level across the tops of the crossmembers along the Y2 axis. Raise or lower the leveling feet along the Y2 axis side until level.
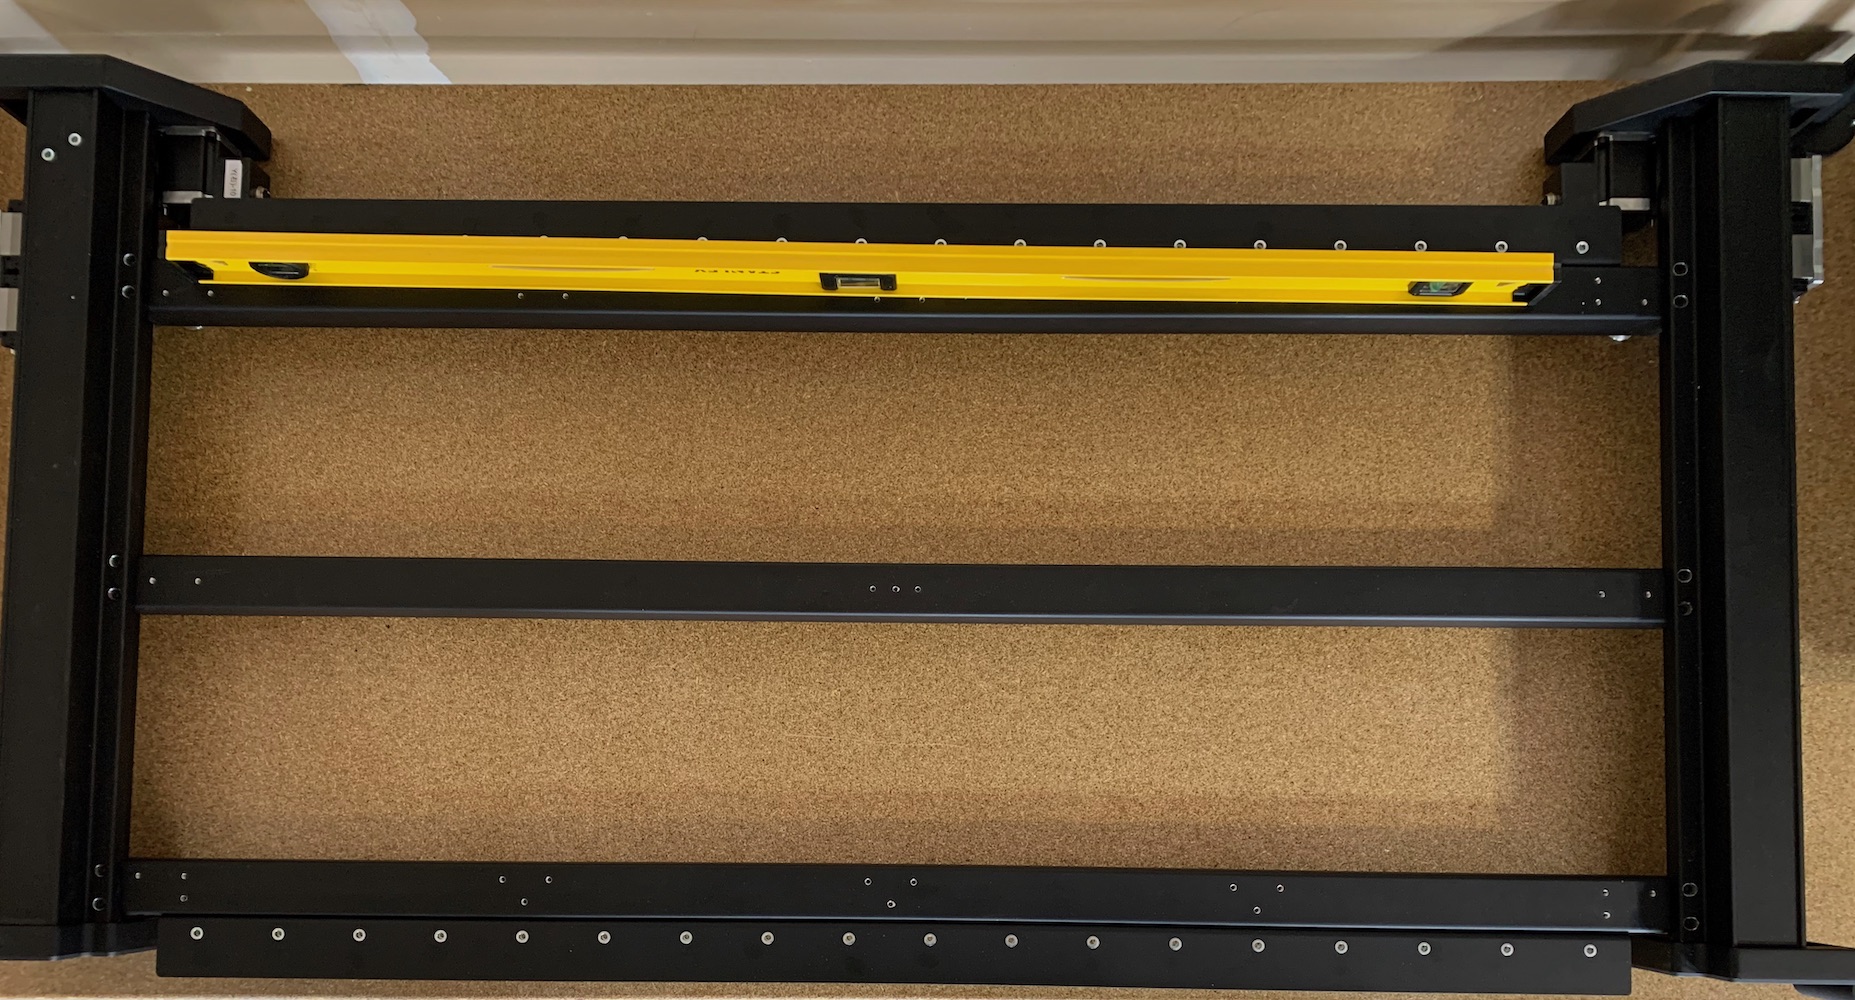
- Level Rear Crossmember
- Place the 4ft level across the top of the rear crossmember. Raise or lower the leveling feet on the rear crossmember until level.
- Place the 4ft level across the top of the rear crossmember. Raise or lower the leveling feet on the rear crossmember until level.
- Level Along Y1 Axis
- Place the 4ft level across the tops of the crossmembers along to the Y1 axis. Raise or lower the leveling feet along the Y1 axis side until level.
- Place the 4ft level across the tops of the crossmembers along to the Y1 axis. Raise or lower the leveling feet along the Y1 axis side until level.
- Level Diagonally
- Place the 4ft level across the tops of the crossmembers diagonally (front left to rear right, front right to rear left) and confirm the machine is level.
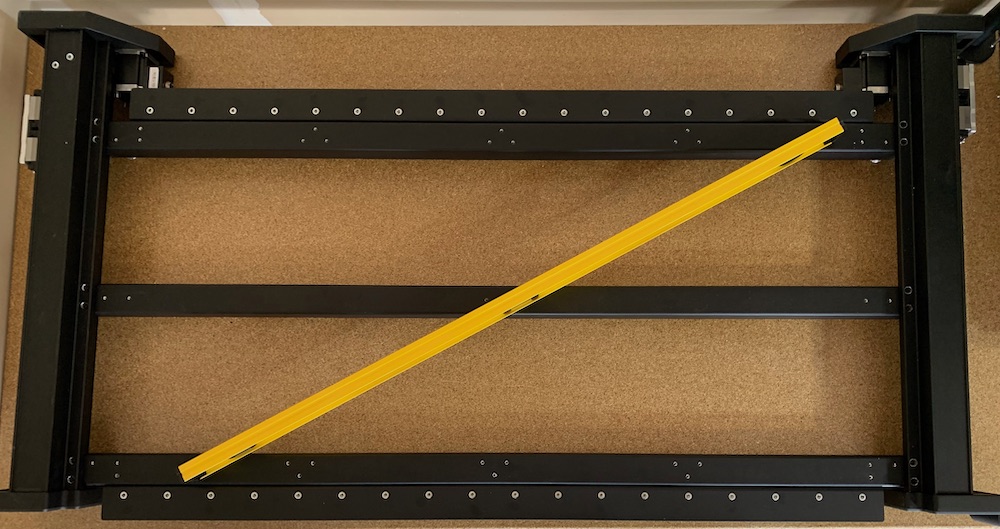
- Place the 4ft level across the tops of the crossmembers diagonally (front left to rear right, front right to rear left) and confirm the machine is level.
- Tighten Leveling Feet Set Nut
- Once the machine is completely level, use the 2 17mm open end wrenches to hold the bottom nut in place while tightening the top set nut on the leveling feet until it is snug to the bottom of the crossmember.
- Once the machine is completely level, use the 2 17mm open end wrenches to hold the bottom nut in place while tightening the top set nut on the leveling feet until it is snug to the bottom of the crossmember.