9. Install Electronics
During this step you will be connecting the remaining cables and electrical components in preparation for the final steps which require calibrating the X-Carve Pro.
| Do not attempt to modify or open the controller without guidance from technical support. Such actions can void your warranty. |
|---|
For any questions or issues during assembly, please contact Inventables Hardware Support via help@inventables.com, or visit the X-Carve Pro Support Center.
NOTE: If you’re using the X-Carve Pro CSA unit in Canada, use a transformer (shipped separately). If you’re using X-Carve Pro in the US, you do not need a transformer.
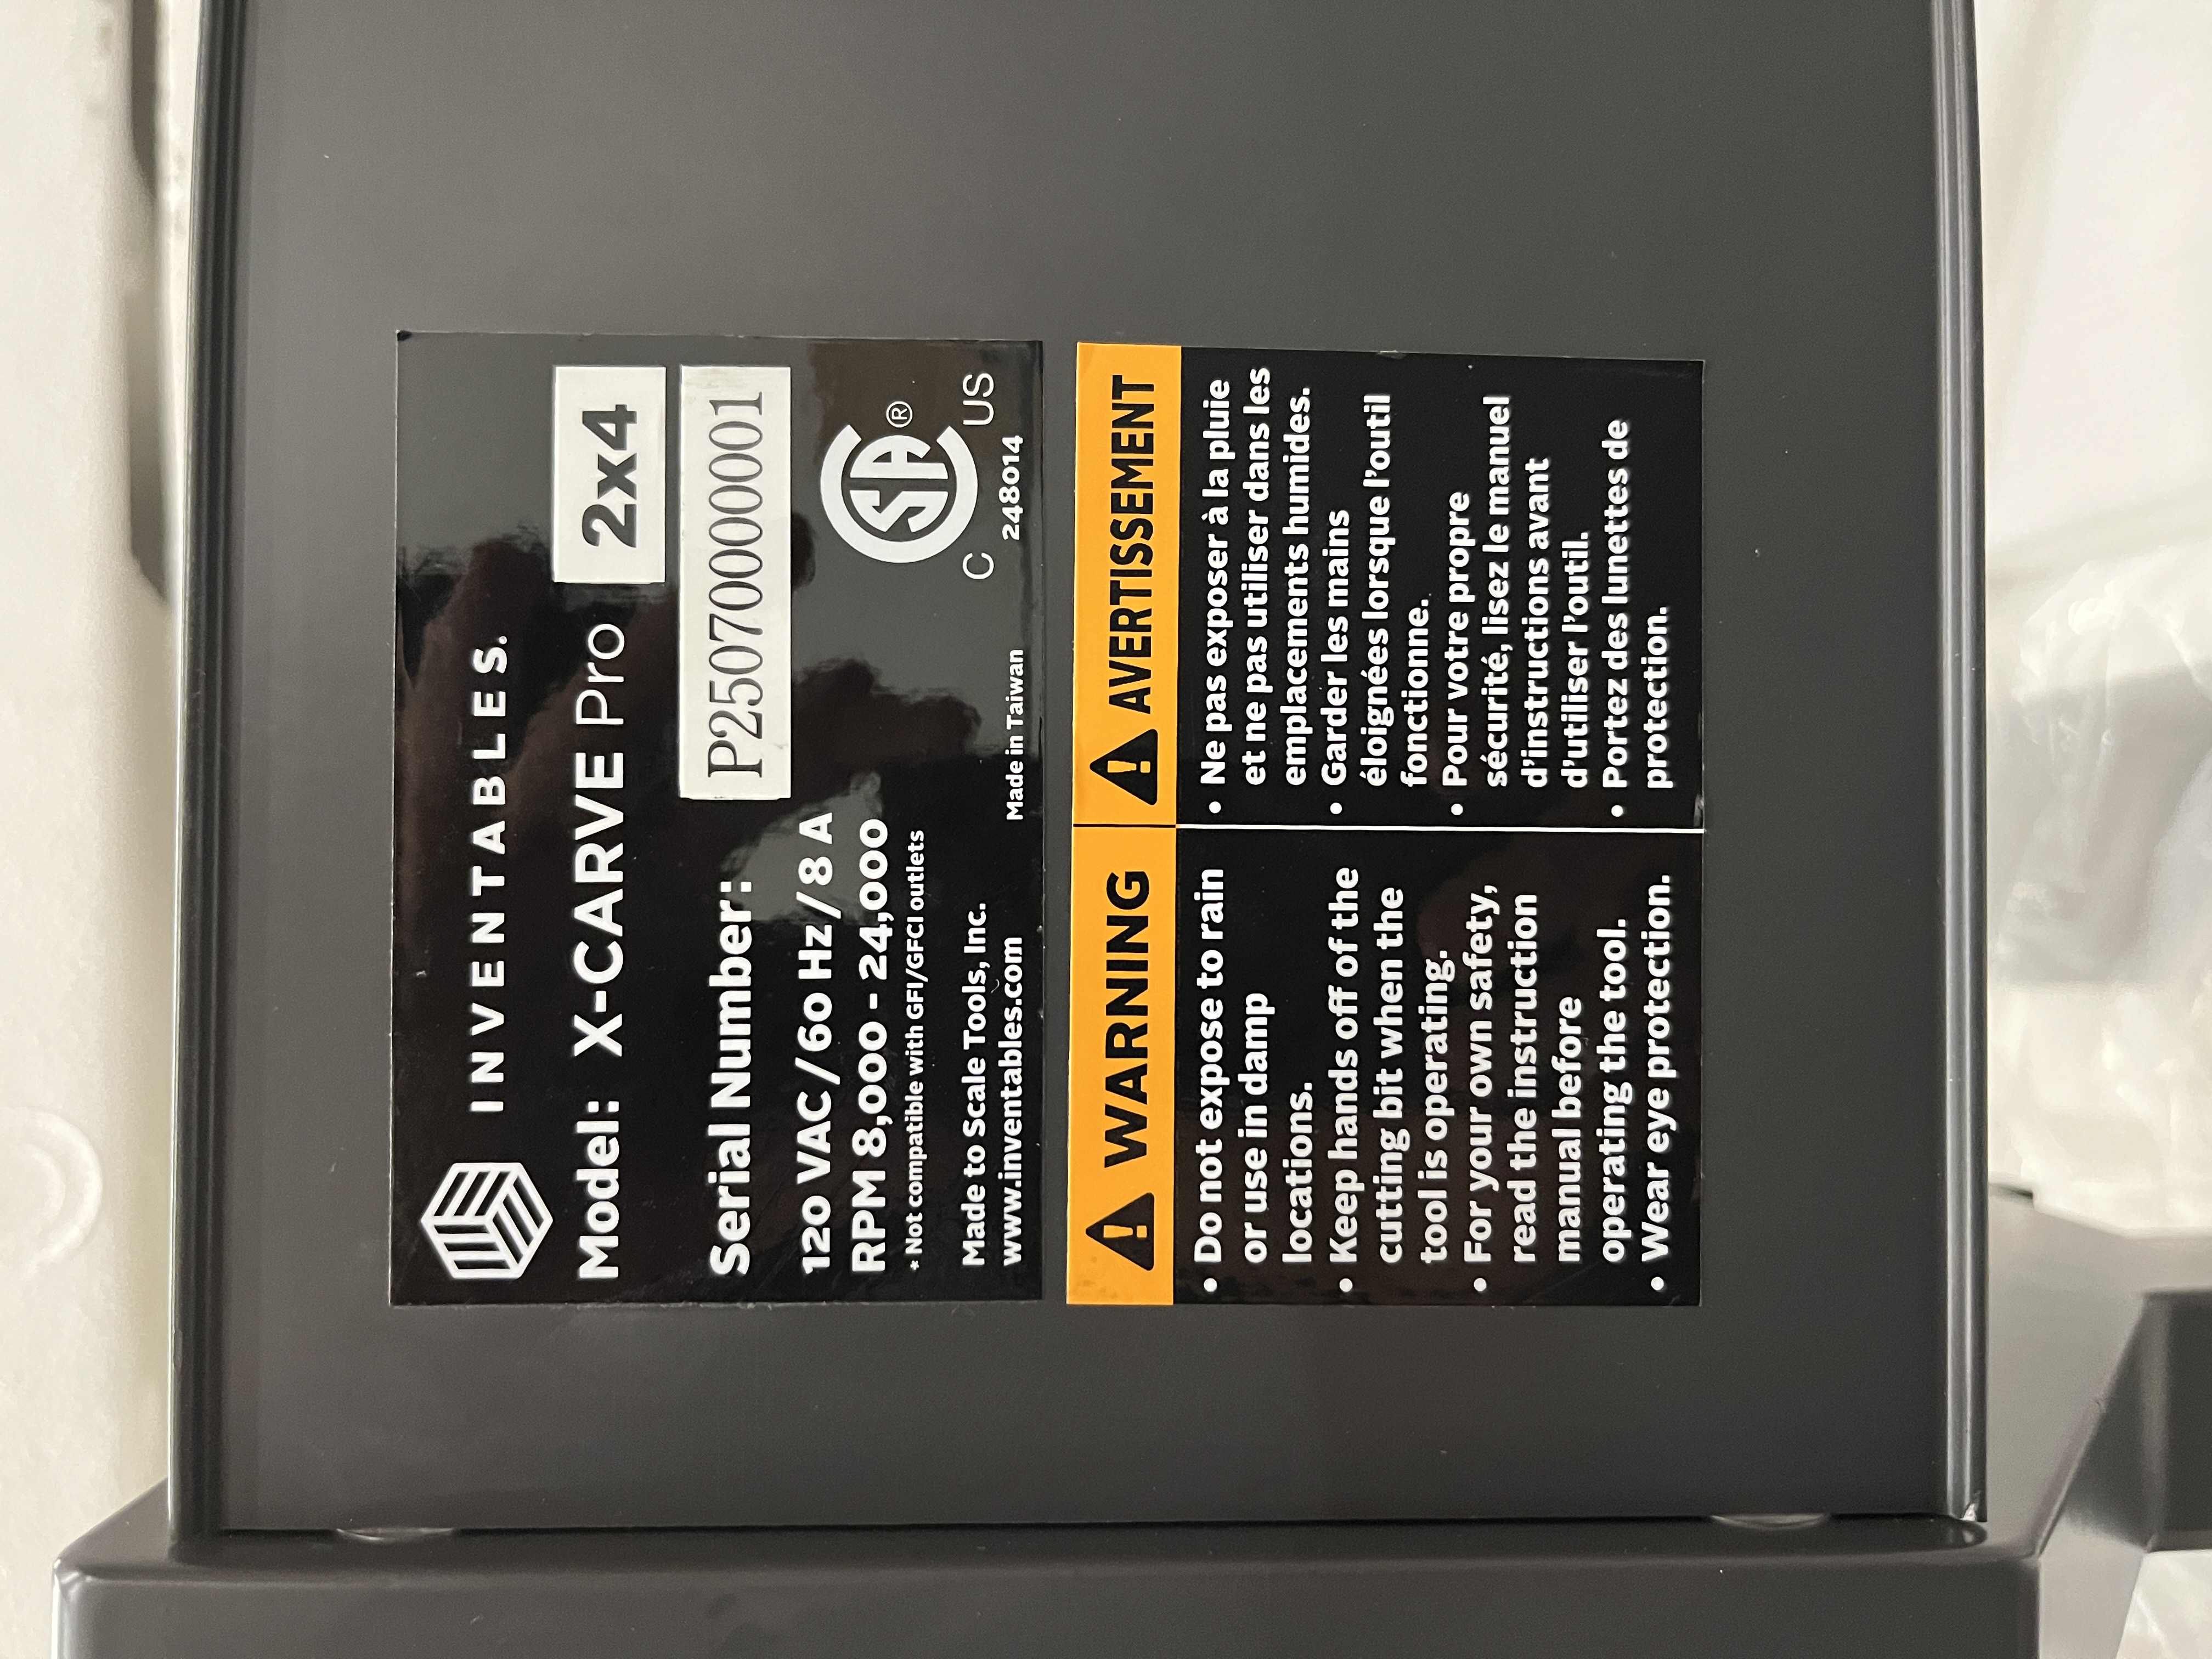
CSA Sticker behind gantry, click for details
Video
Tools
- 2.5mm allen key
Cables
- USB-A to USB-C - 3M - longer one
- RJ45 cable (ethernet)
Steps
- Route and Connect Spindle Cable
- Loosen the dust shoe mount from the slider by turning the knob counterclockwise and sliding the metal plate up and off of the slider. This will allow for easier access to the spindle cover screws.
- Using a 2.5mm allen key, remove the spindle cover by removing the 6 screws (3 on each side) that are attaching the cover to the spindle plate.
- Insert the spindle plug coming from the Z-axis through the top of the spindle cover.
- Attach spindle connector to the top of the spindle, ensuring that the orientation of the plug matches the connector on the spindle.
- Slide the spindle connector by flipping up the silver bracket over the studs on the spindle plug.
- Slide the spindle cover back over the spindle and reattach using the 6 screws and 2.5mm allen key.
- Reattach the dust shoe mount onto the slider and tighten the knob to keep it in place.
- Plug Cables into Controller
- Ensure that the motor, limit, and spindle cables are routed to the back of the machine and near the controller.
- Connect the motor cables to the back of the machine. Each motor cable has a label that will match the label on the rear of the controller. Insert the male plug into the female connector at the controller and thread the collar into the connector.
- Connect the limit switch cables to the back of the machine. Each limit switch cable has a label that will match the label on the rear of the controller. Insert the ¼” male plug into the female connector.
- Connect HMI
- Plug the RJ45 (ethernet) cable into the controller in the port labeled ‘HMI’. Route the RJ45 (ethernet) end of the cable under the machine to where you plan to keep the HMI to connect your computer.
NOTE: The spindle should remain unplugged from the controller until the assembly process is complete.
- Plug the USB-A to USB-C 3M cable into the controller in the port labeled ‘USB’. Route the USB-C end of the cable under the machine to where you plan to keep the HMI to connect your computer.
-
USB Cable 1: from the back of the controller to the back of HMI

-
USB Cable 2: from the front of HMI to computer.
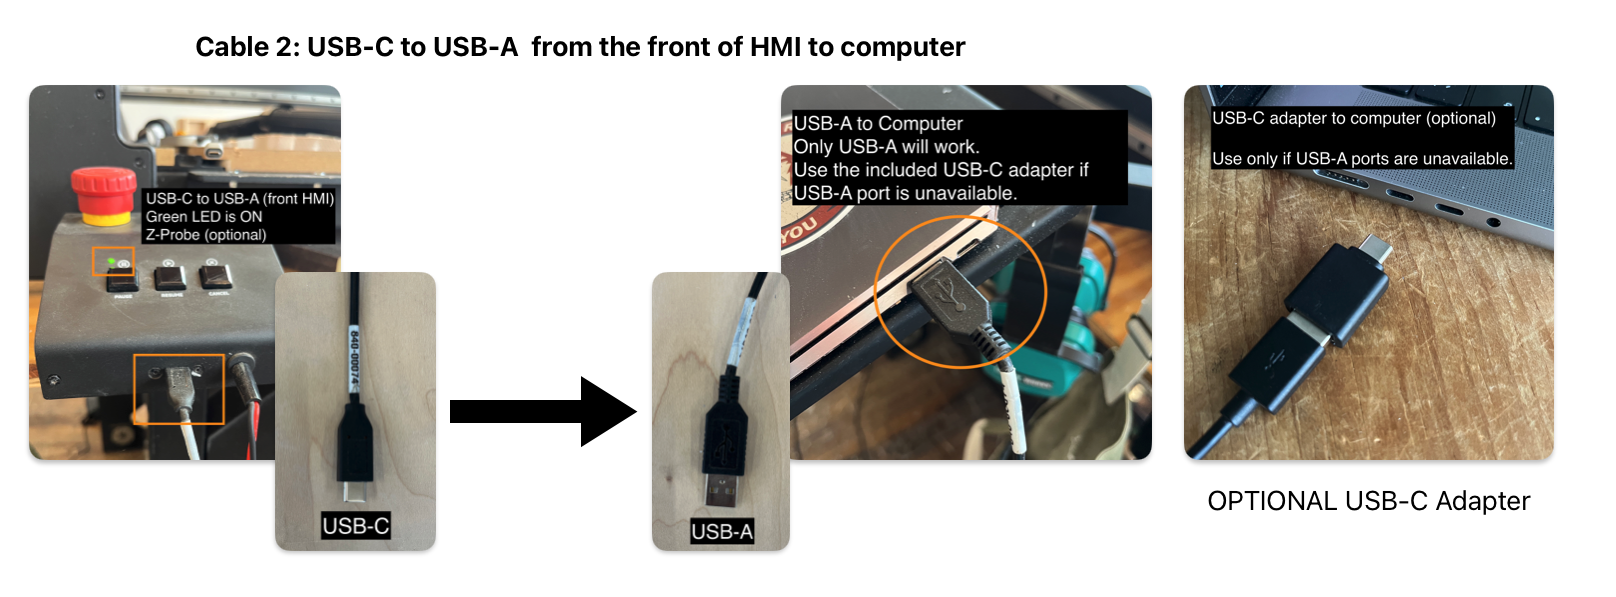
NOTE: If you are using the USB-C adapter, the USB-C end will be connected to your computer. USB-C to USB-C connection will not work.
- Plug in Controller Power Cable
- Plug the AC power cable into the controller and then into the nearest 15A (or higher) standard outlet.
If you’re using the X-Carve Pro CSA unit in Canada, use a transformer (shipped separately). If you’re using X-Carve Pro in the US, you do not need a transformer.
- We recommend having the controller on its own dedicated circuit.
- The X-Carve Pro plugs into a standard non-GFCI 120v outlet. Industrial-grade CNC machines that allow for the spindle speed to be controlled by the operator are powered by Variable Frequency Drives that are not compatible with GFCI outlets.
- Plug the AC power cable into the controller and then into the nearest 15A (or higher) standard outlet.
- The spindle is powered by a variable frequency drive (VFD), and it is common for VFDs to generate some current that flows to ground due to the high frequencies and capacitive coupling between current carrying conductors and grounded elements. This ground current can generate nuisance tripping of the GFI since it creates an imbalance between the current on the hot and neutral lines.
- The X-Carve Pro was not designed to operate with GFCI/GFI outlets. Do not modify or open the controller as this could cause a safety hazard.
- Switch On Controller
- Power on the controller and verify that the green lights at the back of the controller and HMI are illuminated. If HMI light is not on, ensure e-stop is disengage by twisting it counter-clockwise.
- Ensure the emergency button on the HMI (e-stop, red button) is not engaged by twisting in the direction of arrows until you hear it pop-up.
NOTE: If your controller trips your breaker and does not power on, we recommend plugging your X-Carve Pro into the nearest non-GFCI outlet.